
Ok, so there is a new craze going on out there, it’s all over the internet, the cinnamon roll apple pie. I saw one of those quick 2 minute videos about it and I was hooked. Totally not my style to buy a store bought cinnamon roll but I just really needed to try this one. Who better to share in my enthusiasm and try this internet concoction than Jess and Glen at our Sunday Night Dinner? Once again they were taste testers to my experimental recipes.
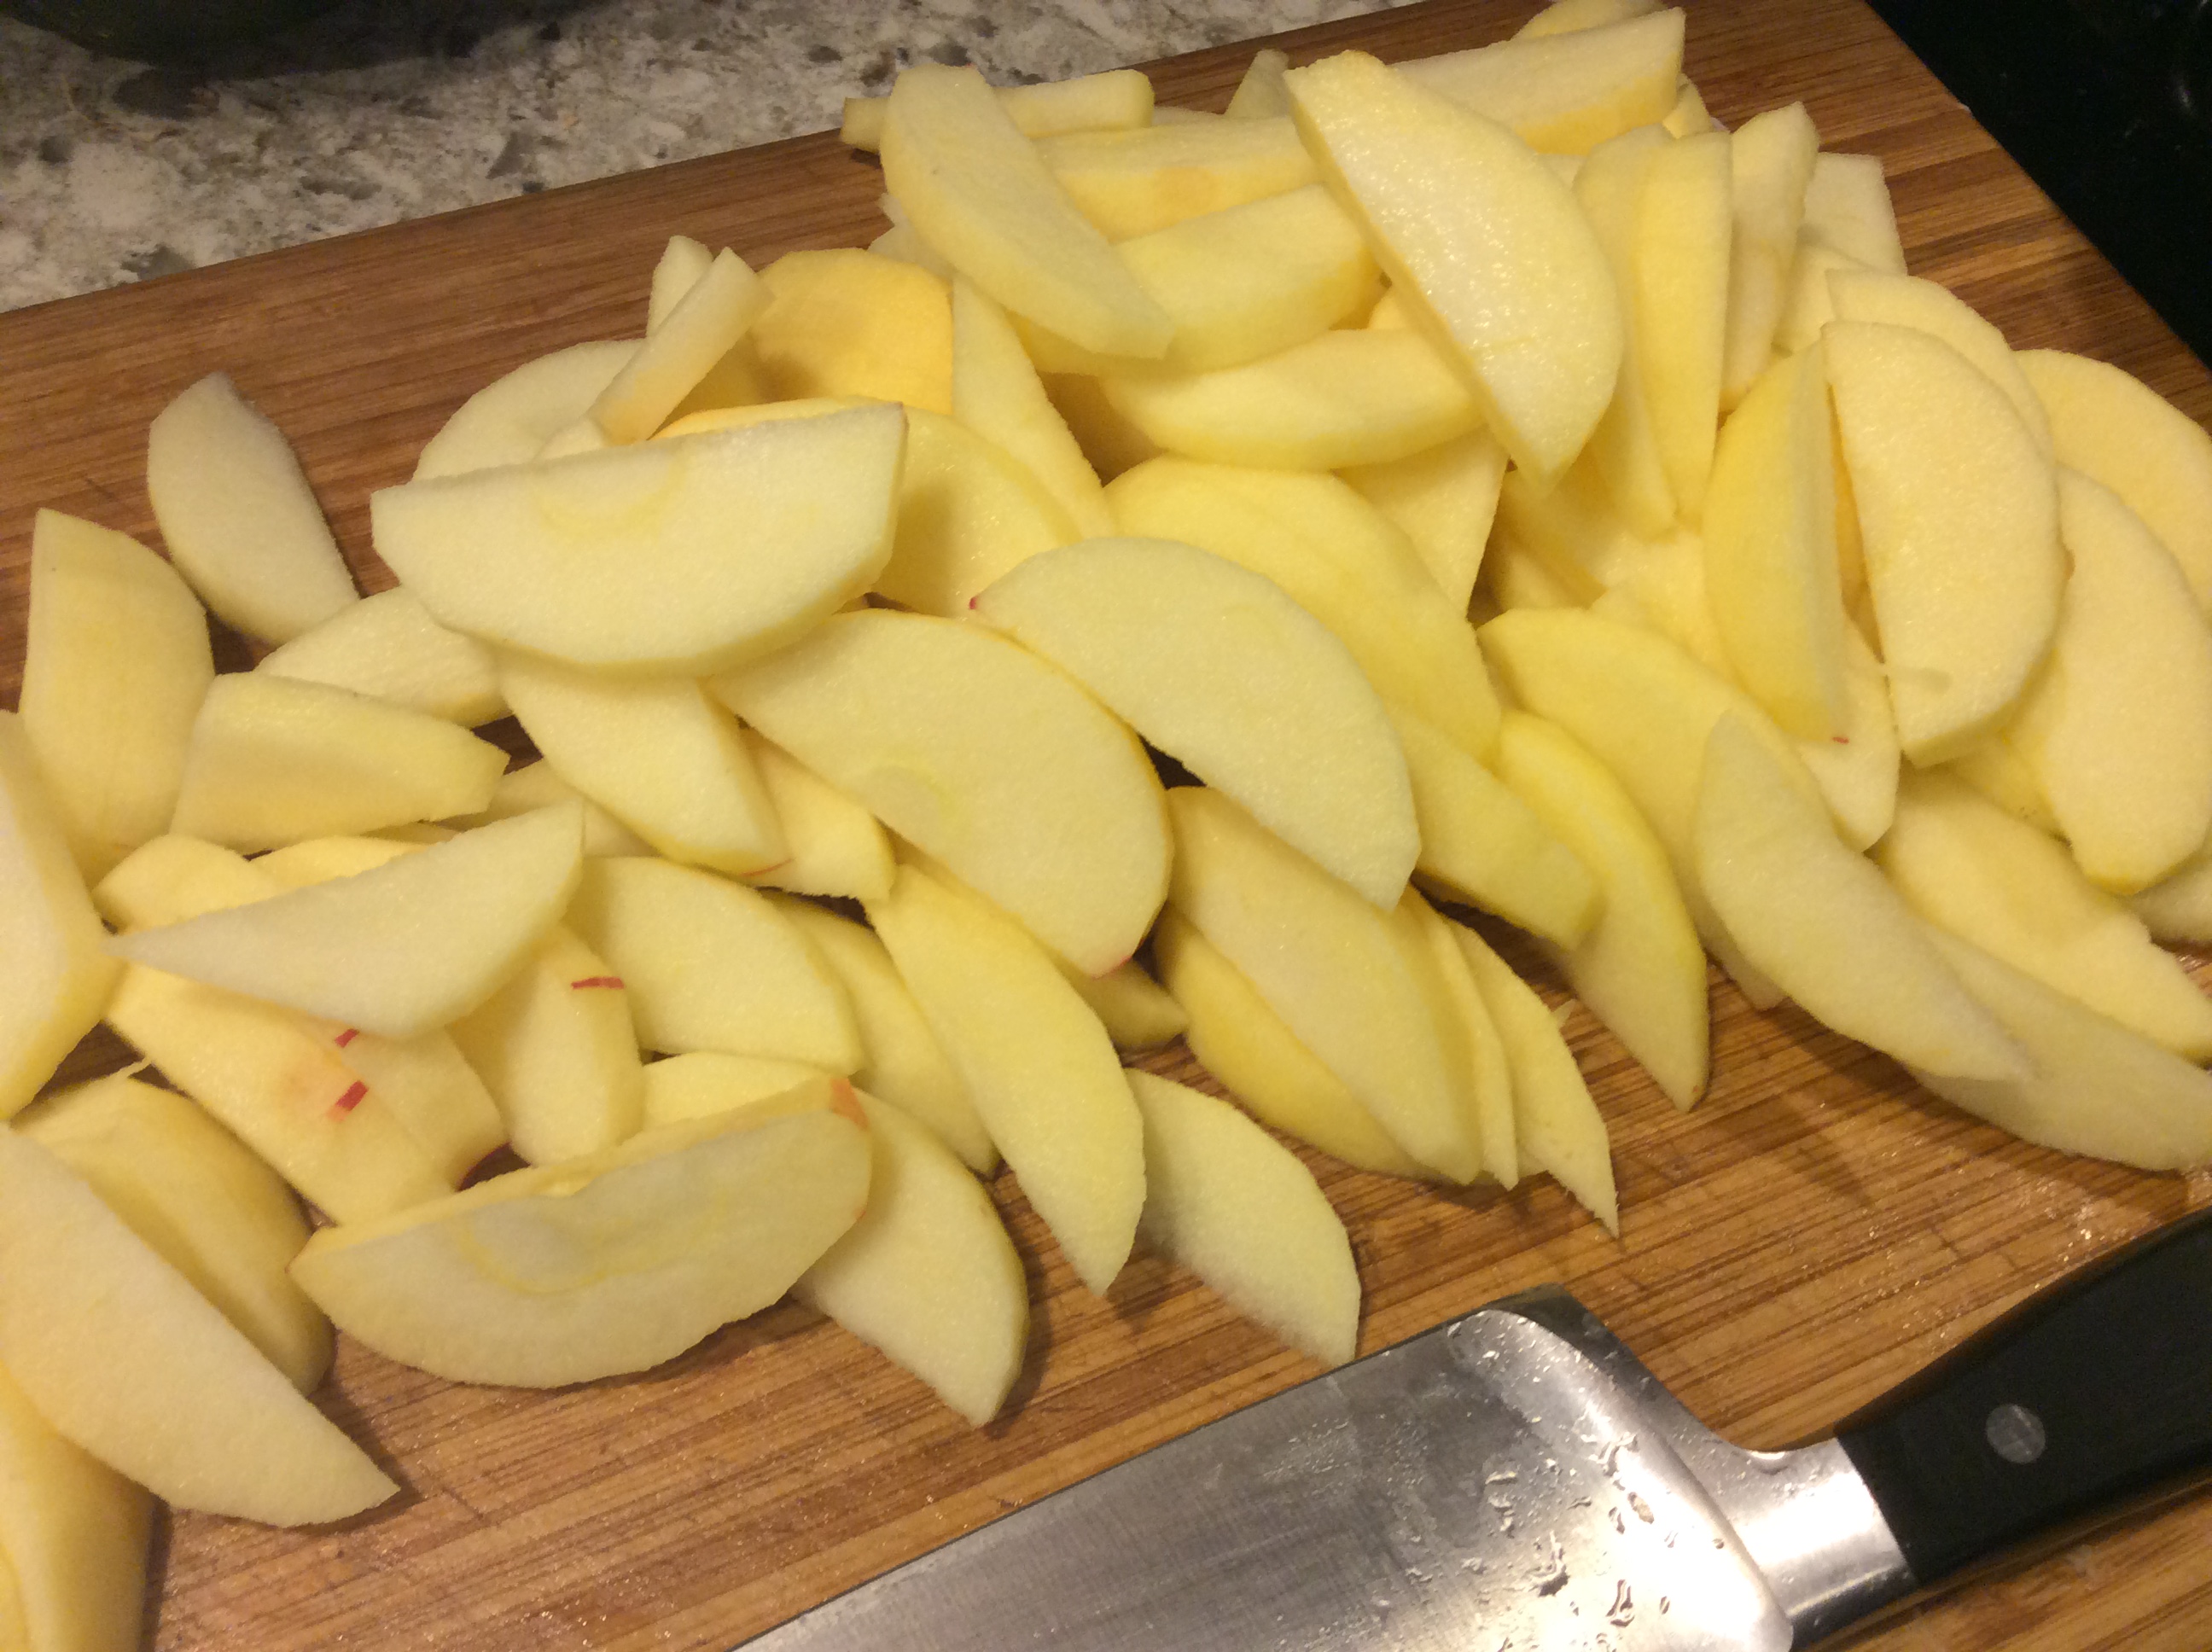
Let’s start with the pie filling. I used a pretty standard stove top apple pie filling that I use a lot. You can change up and vary the spices and fruits but I went standard here. Gather the following:
- 6 apples
- 4 Tablespoons of water
- 3 Tablespoons of butter
- 1 1/2 teaspoons of cinnamon
- 1/2 cup of sugar
- 2 Tablespoons of corn starch with 4 Tablespoons of water
- Peel the apples

2. Quarter the apples

3. Cut into slices
4. Melt the butter and cinnamon in a large flat pan.

5. Add the apples, water, and sugar to the pan and mix. Cover and cook for 4-6 minutes, stirring every now and again. You are looking for the apples to be slightly softened but still crisp.

6. Combine the corn starch and water and add it to the apple mixture. Continue to cook over low heat until thickened. Then remove from the heat and let it cool slightly.

This is where things get crazy….


7. Flour the work surface, rolling pin, and top of the cinnamon roll. Roll until flat, add them to the bottom of the greased pie plate.

8. I ended up using all of one can and one from the other pan to fill the bottom completely.
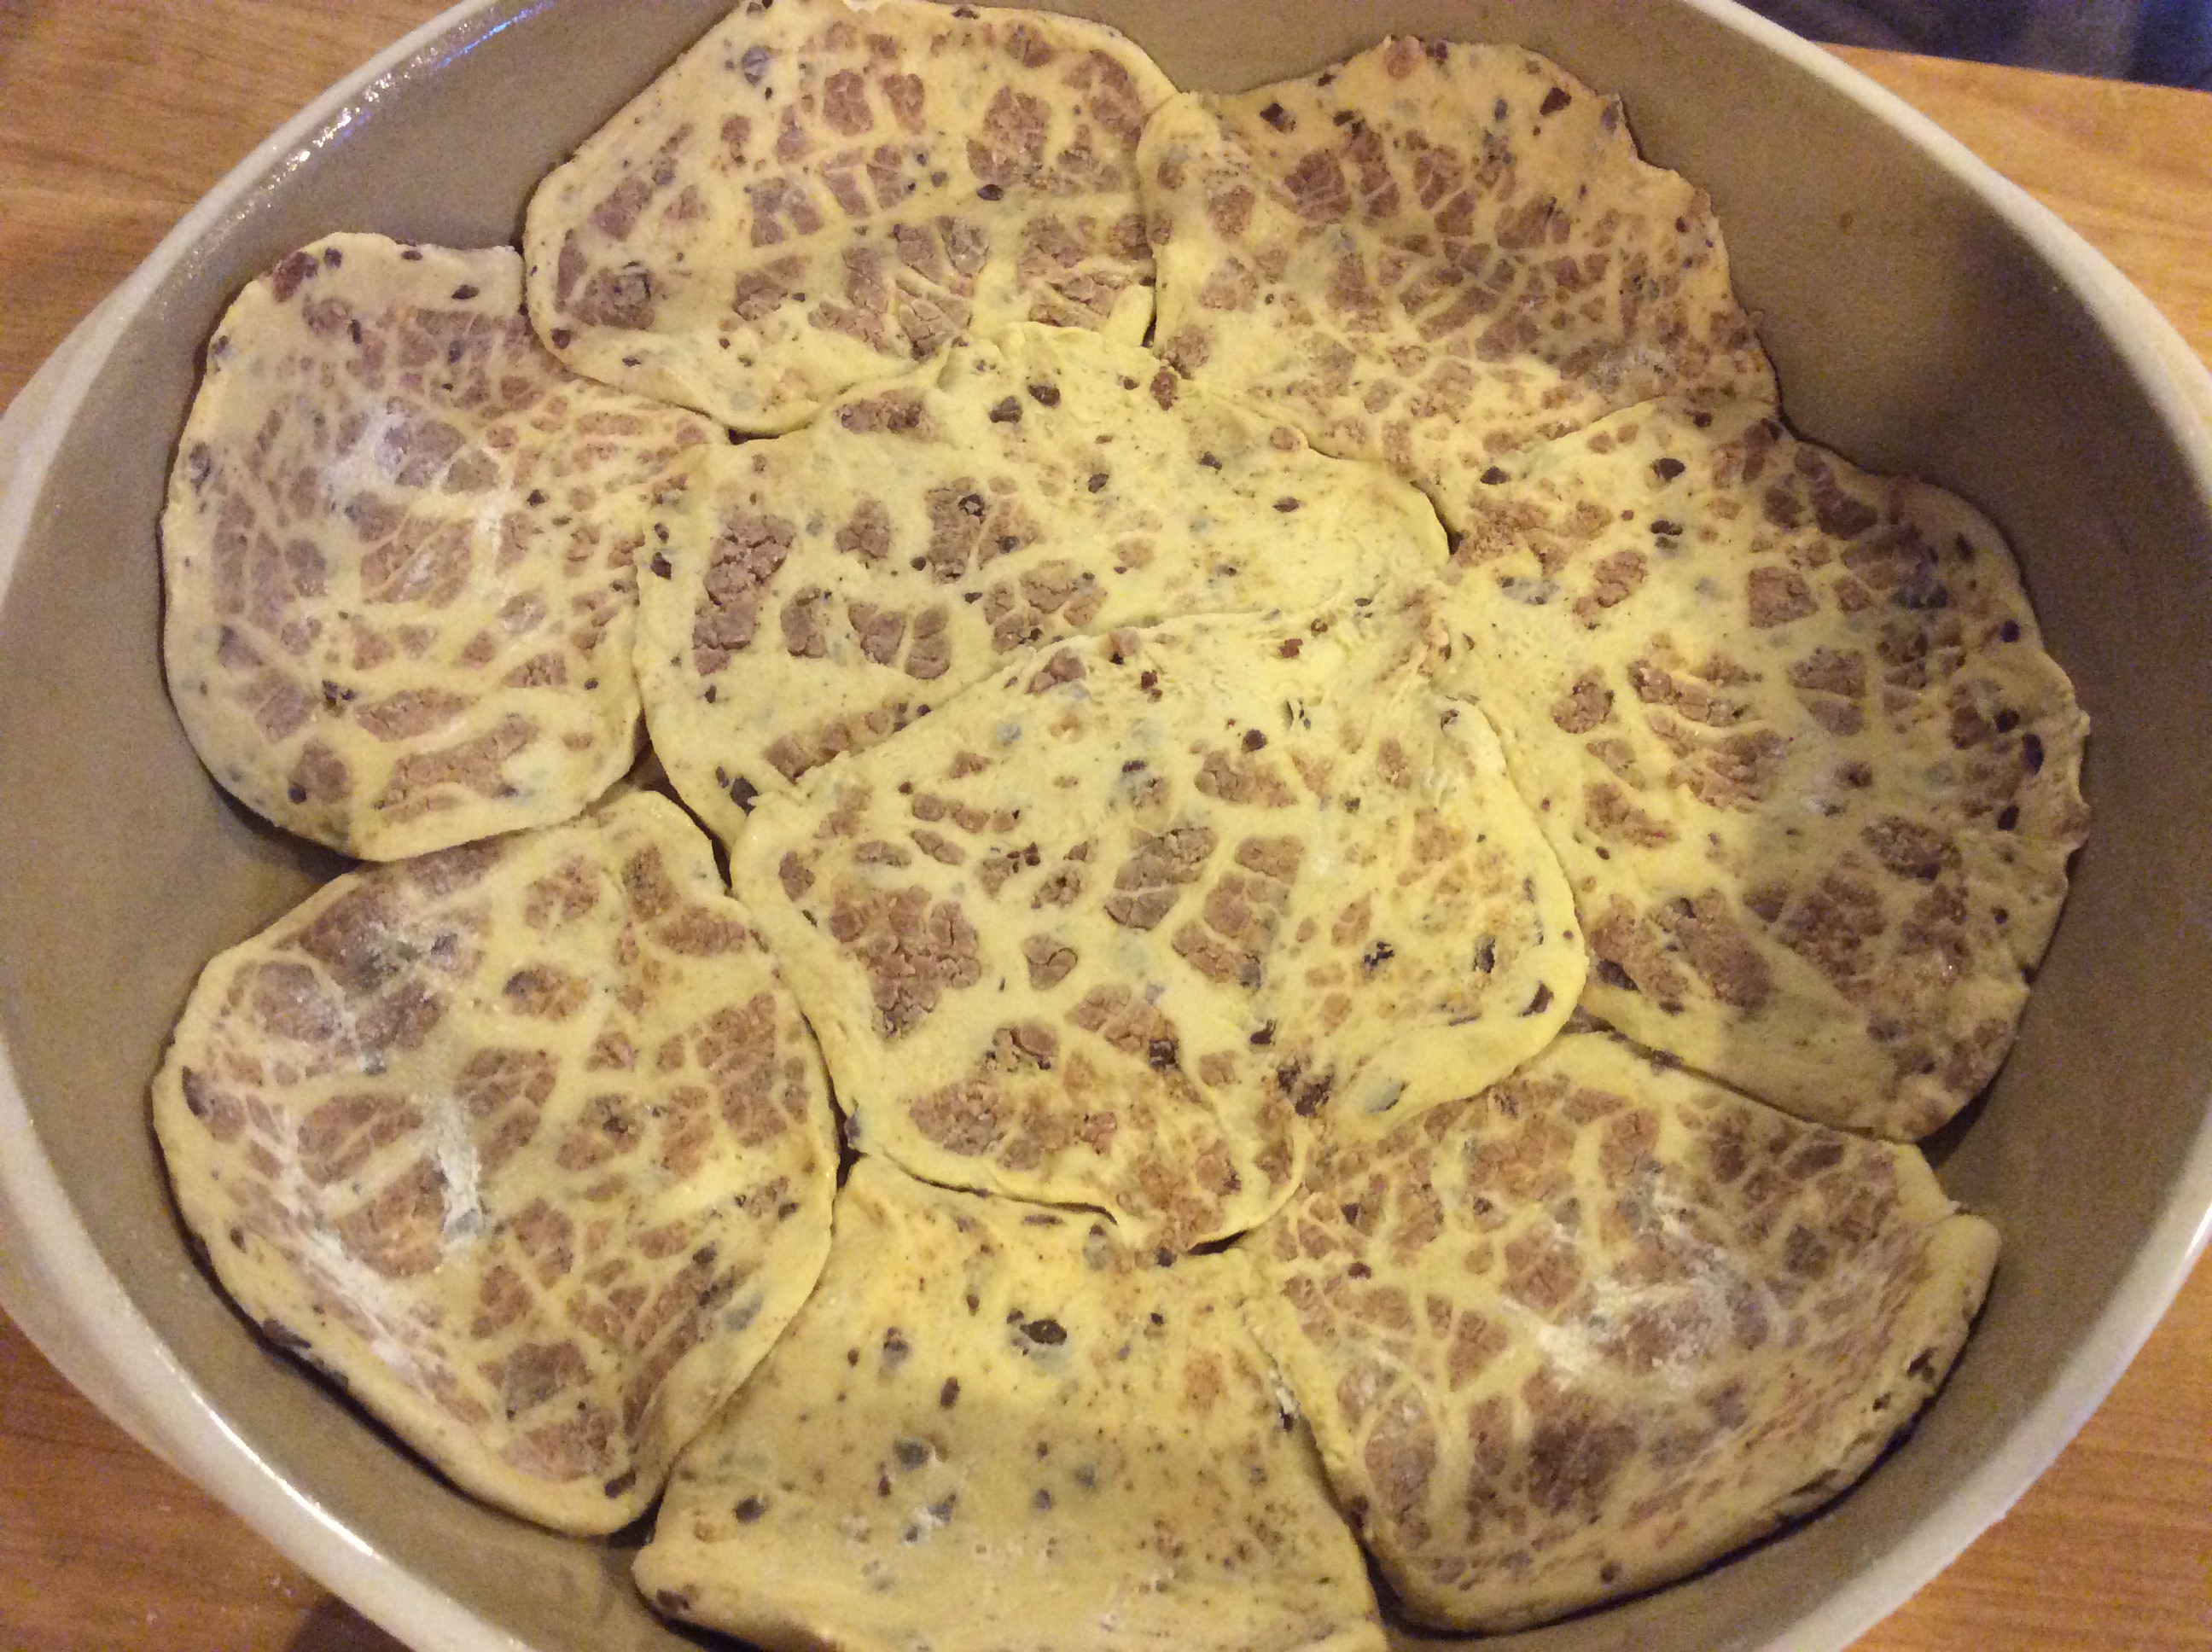
9. Add the slightly cooled apple filling on top of the cinnamon buns.

10. Roll and flatten out the remaining buns and place them on for your top “crust”

11. Bake in a 350 degree oven for 45 minutes. Don’t forget to save the silly icing containers, of course we will use those too!

12.Out comes the pie. Let it cool for about 20 minutes.

13.Spread on the icing and let the pie cool and set.
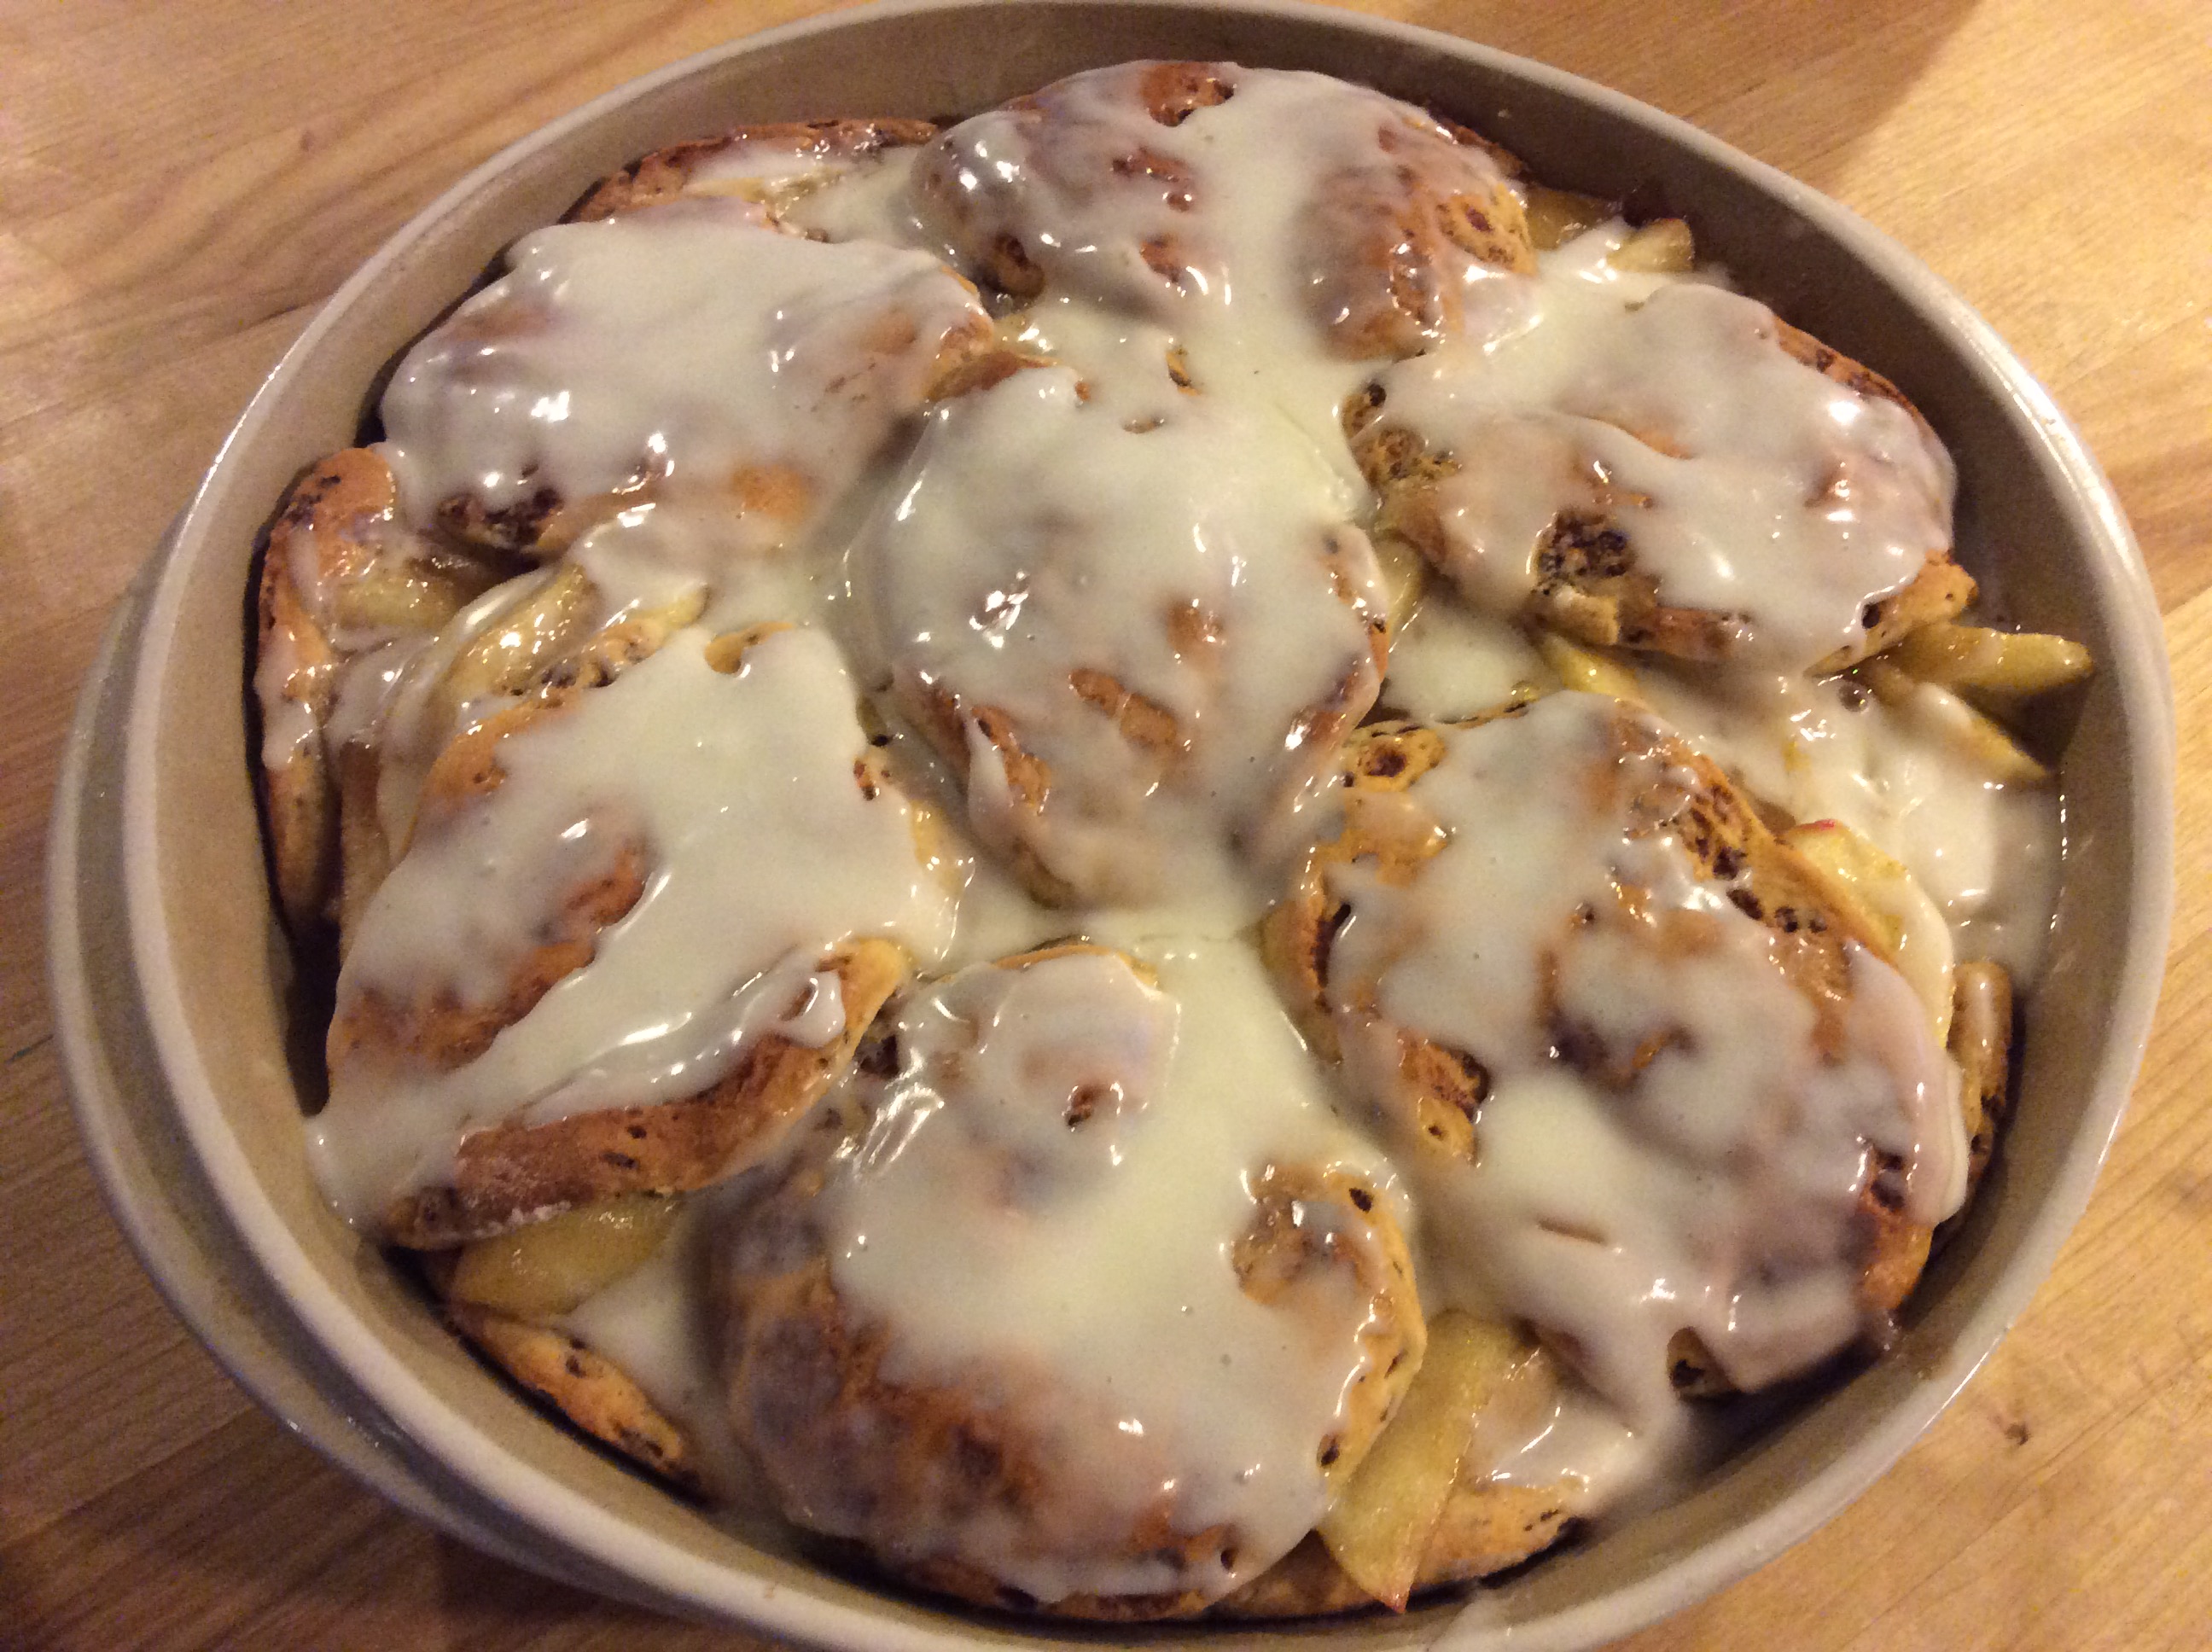
This was crazy cool and delicious, of course, I mean really, what could go wrong about this? Enjoy!
